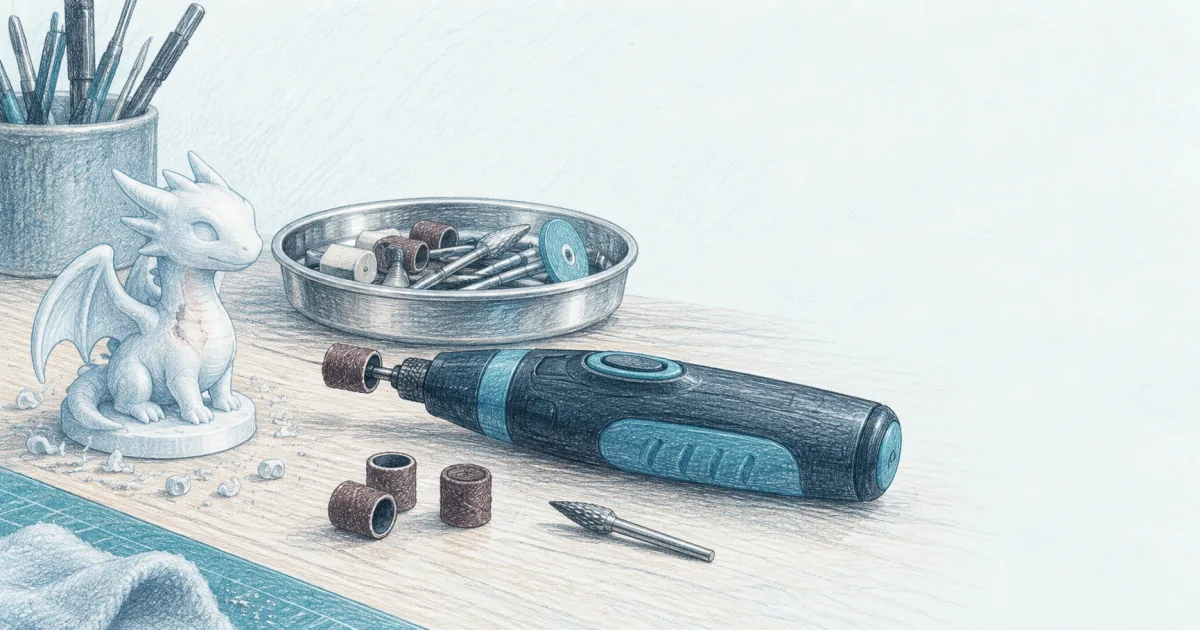
Best Rotary Tool for 3D Printing (2026): Sand Resin and PLA Without Gouges
Accessories
A rotary tool speeds up the worst part of post-processing, but only if you can run it slow. A pen-style cordless unit for detail work and a cheap 69-piece kit for everything else.
Our picks
The best rotary tool for 3D printing is a small cordless one you can turn down, and the Fanttik F2 Master Mini is our pick for detail work. A full-size corded tool will chew through a thin wall before you finish the sentence. The mini format gives you the control to sand a support nub without flattening the face next to it.
Rotary tools earn their bench space at a specific point in the workflow. They are not a replacement for a sanding block on large flat panels, and they are not the tool you reach for on a finished display piece.
They are what you use when a deburring tool cannot reach the nub, when a support stump sits inside a curve, or when you need to open a hole a hair wider for a bolt. You will find them filed next to the rest of your 3D printer accessories, and they pair with the 3D printer enclosure you are already using for dust and noise control.
If you are still at the hand stage, start with the best sandpaper for 3D prints and the best filler primer for 3D prints. A power tool is the step after those, not instead of them.
Why a mini rotary tool beats a full-size Dremel on prints
Power is the wrong thing to shop for here. A printed part is soft, and soft material punishes speed. The faster the bit spins, the more it grabs, and the moment it grabs, it carves a hollow you cannot sand out.
A mini tool wins for three reasons.
- It fits in the pinch points around a small part. Support scars sit in armpits, between fingers, and under overhangs, and a bulky body cannot get in there.
- Its lowest speed is genuinely slow. That is what lets a bit cut instead of smear.
- It is light enough to steer with your fingertips instead of your wrist, which is the difference between a clean edge and a divot.
What you give up is torque. These tools stall on a big flat face, and that is fine. Use a sanding block there.
Top pick: Fanttik F2 Master Mini Cordless Rotary Tool Kit
The Fanttik F2 Master Mini Cordless Rotary Tool Kit is a cordless pen-style tool with a hollow-cup motor, five speed settings, and a 3/32 inch (2.3 mm) collet. It ships with 35 accessories on a 360 degree rotating magnetic stand inside an aluminum case, and it charges over USB-C. The body is aluminum and weighs about 0.22 lb.
That weight is the whole argument. On a small print, the tool disappears into your hand, so you can rotate your wrist a few degrees and follow a curve instead of fighting the body. Five steps give you a slow setting that actually works on resin and a faster one for trimming a brim on PETG.
Buy it if you clean up miniatures, figures, and small functional parts and you want one tool that lives on the bench. Skip it if your post-processing is mostly resurfacing large flat panels. A sanding block or a sheet of sandpaper does that better and cheaper.
Best value: HARDELL Mini Cordless Rotary Tool 69-piece kit
The HARDELL Mini Cordless Rotary Tool is a 3.7V cordless kit with five speeds from 5,000 to 18,000 RPM, a 69-piece accessory set, a hard case, and a built-in light. It charges over USB-C and runs around 200 minutes per charge. The listing is upfront that it is not built for heavy-duty work.
Two hundred minutes covers a lot of cleanup. Fold in the low starting speed and you have a tool you can leave out without worrying about it ruining a part the moment you look away. The 69 pieces also mean you probably already own the drum sander or cutting wheel you need for the next job.
Choose it when the budget is tight or when you want a second tool so you are not swapping bits on the good one. Step up to the Fanttik if you want the lighter body and the magnetic bit stand.
Bits, speed, and the order to work in
Order matters more than the bit you pick. Work from the coarsest job to the finest, and stop as soon as the surface is level.
- Clip the big support towers with flush cutters. Do not grind what you can cut.
- Take the nubs down with a small tapered burr at the slowest speed. Light passes, keep moving.
- Open holes and slots with a drill bit or a small burr, then test fit before you go wider.
- Smooth the last texture with a drum sander, then finish by hand.
A few rules that save parts:
- Match the shank to the collet. Most mini tools take 3/32 inch (2.3 mm), and forcing a 1/8 inch bit in will wobble.
- Keep a separate bit set for resin. A bit that has cut cured resin leaves dark streaks on light PLA.
- Clean the part between steps. Loose dust packs into the swirl marks you are trying to remove.
- Work outside or at a fan, and wear a mask. Resin dust is not something to breathe in over a bench.
Rotary tool versus sanding by hand
The honest answer is that you want two of these, not one. A mini rotary tool plus a deburring tool covers nearly every post-processing job on a home bench.
When a rotary tool is the wrong tool
Skip the power tool when the part is a display piece with fine detail on every surface. A file and a sponge give you more control, and a slip with a spinning burr is not recoverable.
Skip it on a thin hollow print. A biting bit can punch through a 0.8 mm wall in a heartbeat.
Skip it for general surface smoothing on a large flat print. You will dish the surface. A block with the right grit does a flatter job in more time, and that is a trade worth taking.
Also skip it if you have not tried a slower option first. Many people buy a rotary tool, gouge one part, and decide they hate post-processing, when the actual problem was speed.
Bottom line
The Fanttik F2 Master Mini Cordless Rotary Tool Kit is the best rotary tool for 3D printing if you care about control on small parts, with a light pen body and slow speed steps that let resin dust instead of smear. The HARDELL Mini Cordless Rotary Tool 69-piece kit is the value pick when you want a full bit set and long runtime for less. Buy one, keep it on the slow setting, and let a file handle the surfaces you cannot see.
Frequently Asked Questions
What is the best rotary tool for 3D printing?
A small cordless one you can run slowly. Speed control matters more than power, because a fast tool grabs cured resin or soft PLA and digs a hollow before you can react. Our top pick is the Fanttik F2 Master Mini. The HARDELL 69-piece kit is the budget choice.
Can I use a regular Dremel on 3D prints?
You can, but a full-size corded tool is usually too aggressive at its lowest setting, and the body is too bulky to control on a small part. If you already own one, keep it on the slowest speed, use light pressure, and practice on a scrap print first.
What speed should I sand 3D prints at?
Start at the slowest setting your tool offers. Slower speeds let the abrasive cut instead of smear, and they stop the bit from heating the plastic. Move up only when the bit is clearly not removing material.
Which bits work best for sanding PLA and resin?
Drum sanders and abrasive wheels for flat and curved surfaces, and small tapered burrs for support nubs and tight corners. Keep a separate set for resin. Once a bit has chewed cured resin it leaves dark marks on light PLA.
How do I stop a rotary tool from melting my print?
Use low speed, light pressure, and short passes. Let the bit do the cutting and keep the tool moving instead of holding it in one spot. If the surface starts to look glossy or smeared, you are going too fast or pressing too hard.
Is a rotary tool worth it for resin miniatures?
For support nubs, mold lines, and pin holes, yes. For general smoothing on a delicate figure, a sanding sponge or a hobby file is still safer. Save the power tool for the spots a file cannot reach.
Should I wear a mask when sanding printed parts?
Yes, and work outside or right next to a fan. Cured resin dust and fine plastic dust are both things you do not want to breathe. A simple dust mask and a wet wipe for cleanup cover most home benches.
Do rotary tool bits fit every brand?
Check the collet size first. Most mini tools take 3/32 inch (2.3 mm) shanks, while some kits include a second collet for 1/8 inch bits. Match the shank to the collet before you buy a big accessory set.