Best Filler Primer for 3D Prints (2026): Smooth PLA and Resin Before Paint
Accessories
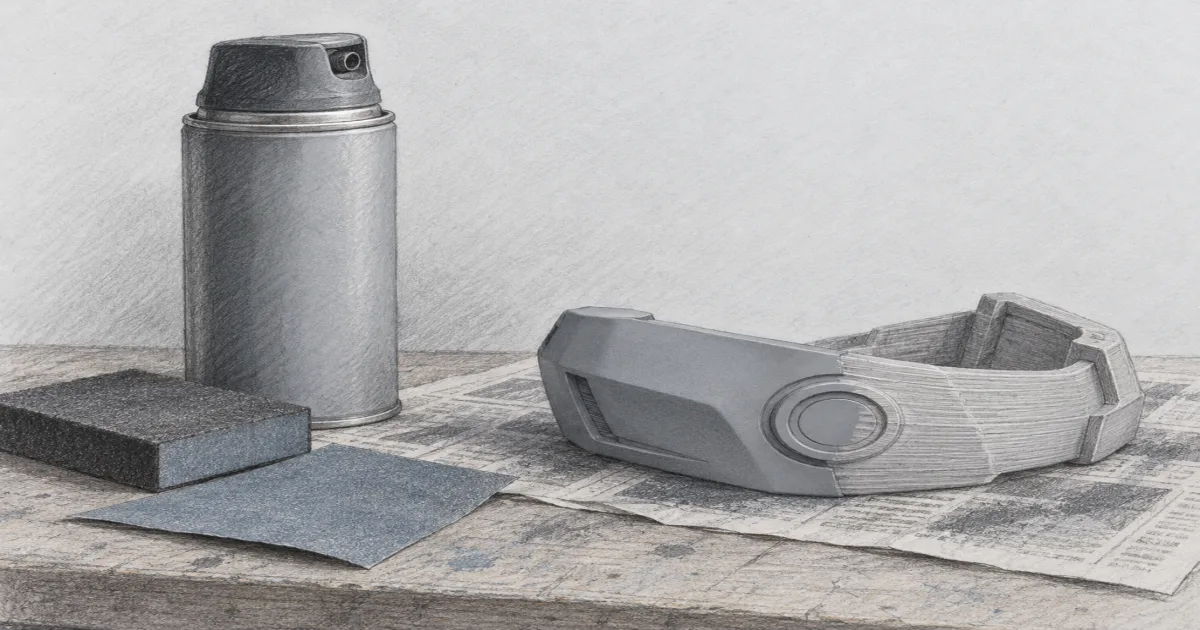
Filler primer is the shortcut between a rough print and a paint-ready surface. A hi-build spray fills PLA layer lines, while a thin airbrush primer keeps detail on miniatures.
Our picks
The best filler primer for 3D prints is a hi-build spray you can sand, and the Rust-Oleum 249279 Filler Primer is our pick for most FDM benches. It fills the small valleys between layers, dries fast, and takes a sanding pass without clogging the paper, which is exactly the job a bare PLA print cannot do for itself.
Filler primer is the shortcut between a rough print and a paint-ready surface. It does not replace sanding, and it does not replace a spot putty for real gaps. What it does is level the fine texture that sanding alone struggles to remove, especially on the soft plastics most home printers run. It earns a spot in the same drawer as your 3D printer accessories.
If you are still at the sanding stage, start with the best sandpaper for 3D prints and the best deburring tool for 3D printing for the sharp edges. For larger props, the 3D printer for cosplay guide covers the machines that make filling and painting worth the effort. The 3D printer enclosure picks cover the venting side of a spray setup.
What filler primer does that sandpaper cannot
Sandpaper removes material. Primer adds it. That difference is the whole reason the two steps work as a pair.
A print surface is a row of peaks and valleys. Paper flattens the peaks. Filler primer flows into the valleys and builds a thin film that levels the surface. Sand that film and you get a smooth face that paint sits on evenly.
The trick is patience. Primer shrinks as it dries, so a surface that looks level while wet can show texture again once it cures. Thin coats, a sanding pass between them, and a guide coat at the end are what get you to a truly flat surface.
Top pick: Rust-Oleum 249279 Filler Primer
The Rust-Oleum 249279 Automotive Filler Primer is a hi-build modified alkyd spray in an 11 oz can. It fills minor surface imperfections, improves topcoat adhesion, and covers up to 12 square feet. The comfort tip sprays at any angle, and it is dry to the touch in about 10 minutes.
The build is the point. On an FDM part, one or two thin coats fill the layer lines enough that a 400 grit wet sand leaves a surface paint can sit on evenly. Repeat once if the part was printed at a coarse layer height.
Pick this for large FDM props, functional parts you plan to paint, and anything with awkward geometry. Skip it for a resin miniature, where the same heavy build can soften the detail you printed the resin for.
Best white base: JENOLITE Primer Filler
The JENOLITE Primer Filler Aerosol is a white acrylic primer and filler in one can. It corrects small surface imperfections, works on metal, wood, and rigid plastic, dries to the touch quickly, and can be overcoated after 24 hours. Once cured it sands smooth for a level base.
White is the practical choice for light topcoats. Spray it, let it cure, and sand lightly. The white film shows every low spot as a shadow, so you know exactly where the surface still needs attention before color goes on.
Choose this when you are painting a prop or model in a light color. Skip it if your topcoat is dark and you just want to hide texture, where the gray Rust-Oleum does the job for less.
Best for miniatures: Vallejo Surface Primer
The Vallejo Surface Primer White is a 60 ml acrylic primer built for airbrushing, and it works with a brush for small touch-ups. It is water-mixable, sprays at low pressure, and bonds to resin, PVC, and white metal. The matte film dries hard and holds paint well.
On a resin miniature, thin is the whole game. A heavy filler primer would erase the detail you bought a resin printer for. This primer preps the surface and nothing more, so faces and fine edges stay readable under paint.
Buy this for resin miniatures, display figures, and any part where detail matters more than leveling. Keep the Rust-Oleum for the big PLA pieces where filling texture is the goal.
Filler primer versus sandable primer versus spot putty
The order matters on a rough print. Sand the peaks first, spot fill any real seams, then prime and wet sand until the surface is level. Trying to fill a deep seam with primer just builds a soft lump that chips later.
If you only buy one product, buy the filler primer. It covers the most common problem on a home print, which is texture rather than a true hole.
How to prime a 3D print without hiding detail
Prep first. Wash the part to remove oils and dust, and sand the obvious layer lines. Primer sticks to a clean, scuffed surface and beads on a greasy one.
Spray in thin coats from about 12 to 16 inches away, moving in steady passes. Two or three light coats a few minutes apart beat one heavy coat every time. Heavy coats run, pool in corners, and soften fine features.
Let it dry, then wet sand at 400 to 600 grit. Wipe the part clean before the next coat so loose grit does not drag across the surface. Repeat until the surface looks level in raking light, then paint.
For a light topcoat, finish with a white or light primer so the color reads true. For a dark topcoat, a gray base is fine and cheaper.
When filler primer is the wrong tool
Skip filler primer if the defect is a gap, a seam, or exposed infill. A spray builds a film, not a structural fill, and bridging a real gap with primer just creates a soft edge that chips.
Skip it on a resin miniature where detail is the point. A thin airbrush primer preps the surface without burying the work you paid for.
Skip it too if the part is a functional piece that will wear against other parts. A thick primer film can change the fit on a moving joint, and the paint will rub off where it contacts anyway.
Bottom line
The Rust-Oleum 249279 Filler Primer is the best filler primer for most 3D prints, with a hi-build spray that levels PLA layer lines and sands smooth. Use the JENOLITE Primer Filler for a white base under bright paint, and the Vallejo Surface Primer for resin miniatures where detail has to survive. Sand first, prime thin, sand again, then paint.
Frequently Asked Questions
Does filler primer work on 3D prints?
Yes, and it is one of the fastest ways to a smooth surface on FDM prints. The hi-build formula fills the small valleys between layer lines so the surface levels out. It fills texture and small imperfections, not deep gaps or seams.
What is the best filler primer for PLA prints?
A hi-build automotive filler primer is the usual choice for PLA, because PLA does not sand well on its own. Spray a thin coat, let it dry, then wet sand and repeat until the layer lines disappear. A white primer shows the low spots after each sanding pass.
What primer should I use for 3D prints I plan to paint?
Match the primer to the paint and the material. A sandable filler primer for a large prop that needs leveling, a thin acrylic airbrush primer for a resin miniature with fine detail, and a plastic-specific primer when adhesion is the problem.
What should I use to fill gaps in 3D prints?
Filler primer handles texture and fine lines, but it is not a gap filler. For actual seams, exposed infill, and larger defects, use a spot putty or an epoxy putty, let it cure, then sand it level before priming.
How many coats of filler primer do I need?
Usually two or three thin coats, a few minutes apart. Heavy single coats run, hide detail, and take longer to dry. Build in layers, then wet sand once the surface is dry to the touch.
Do I need to sand between primer coats?
Yes for the smoothest result. A light wet sand at 400 to 600 grit knocks down the primer texture and shows where the surface is still low. Wipe the part clean before the next coat so loose grit does not scratch it.
Can I use filler primer on resin prints?
You can, but a thin airbrush primer is usually the better fit. Cured resin holds fine detail, and a heavy hi-build spray can soften small edges. Keep the coats light and use a white or light base so you can see coverage.
Is filler primer safe to use indoors?
Spray it outdoors or in a well-ventilated space such as an open garage. The aerosol carries solvents, so a mask and airflow matter. Let parts cure fully before you bring them back inside.