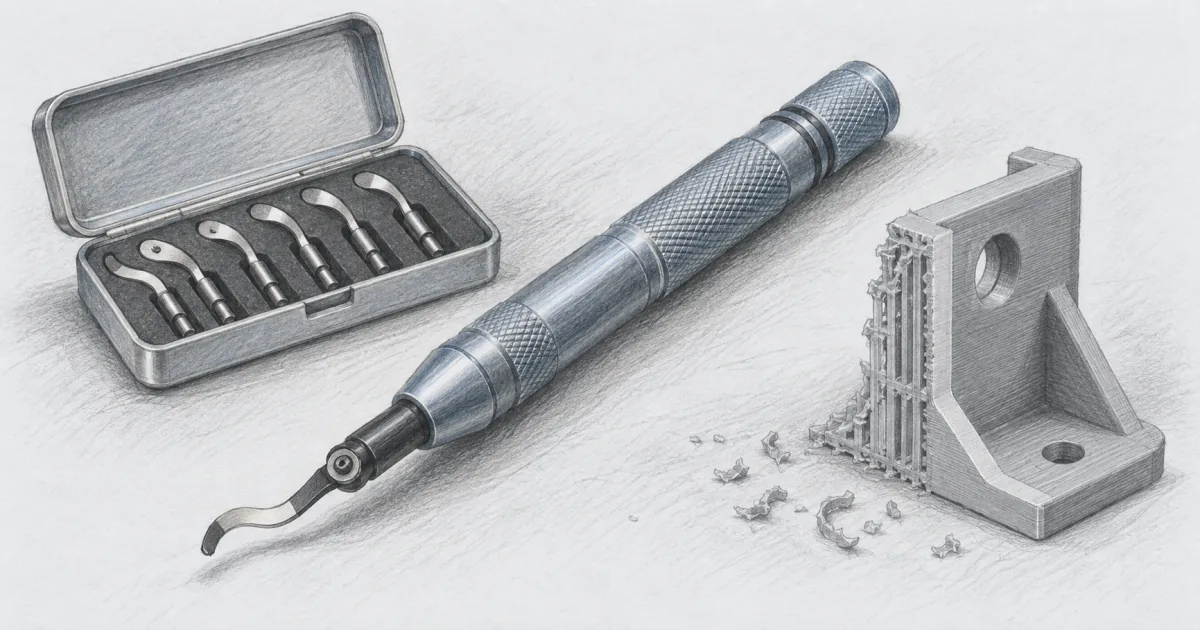
Best Deburring Tool for 3D Printing (2026): AFA Tooling and a Value Pick
Accessories
A deburring tool cleans up the last ten percent of a print: sharp edges, brim leftovers, and support scars. The AFA Tooling M2 HSS is the bench pick, and the PEASUG 12-blade kit is the cheap way in.
Our picks
The best deburring tool for 3D printing is the AFA Tooling M2 HSS swivel tool, the one you reach for after the flush cutters to take off the sharp lip and the fuzzy support scar that make a finished part feel rough. It is a small purchase that quietly changes how every print comes off the bench, because edge cleanup stops being a sanding chore.
A deburring tool sits between a hobby knife and sandpaper. It is faster than sanding an edge by hand and more controlled than dragging a blade across a visible face. It belongs in the wider 3D printer accessories drawer alongside the rest of your cleanup gear.
Start with our 3D printer tools kit guide if you are building the bench from scratch, and pair this tool with the best flush cutters for 3D printing for the cutting step. The 3D printer enclosure picks are the other half of a tidy setup.
What a deburring tool does on a 3D print
Supports come off with cutters. What they leave behind is a rough patch on the part. Brims leave a thin lip around the base. Elephant foot leaves a flare at the bottom edge. A deburring tool shaves those down.
The swivel head is the whole trick. Instead of a fixed blade that has to be aimed, the cutter rotates inside the handle and follows the contour of the edge. Curves, holes, and slots all get the same light shave. That is why it works where a hobby knife feels awkward.
It is a finishing tool, not a removal tool. Do not try to chew through a full support tree with it. Snip the support off first, then clean the scar. Learn that order and the tool lasts years.
Top pick: AFA Tooling Deburring Tool
The AFA Tooling Deburring Tool is the bench pick for a reason. The 11 M2 high-speed steel blades are tempered to HRC 62 to 64, which is real tool steel rather than the soft mystery metal in cheap sets. The CNC-machined aluminum handle has a hexagonal grip that stays put on a bench.
The swivel head does the work. Draw it along an edge and the blade rotates to match the contour, so a rounded bracket corner and a straight trim both clean up the same way. Brims and support scars come off in thin shavings instead of a gouge.
Pick this when you clean up prints often and want one tool that stays sharp. Skip it if you only trim a few edges a month, where the cheaper 12-blade kit below covers the job.
Best value: PEASUG 12-Blade Deburring Tool
The PEASUG Deburring Tool with 12 HSS Blades is the value pick. A full-metal body, a 360 degree rotating cutter head, and a spring-loaded locking collar cover the same jobs as the AFA for about the price of a spool of PLA.
The extra blades are the point. Deburring tools get dull on abrasive filament and on the occasional metal job, and having ten spares in the box means you never stop mid-cleanup. Swap, keep going, sharpen the old blade later or toss it.
This is also the safer first buy if you are not sure how much you will use it. Learn the technique on an inexpensive tool, and if it earns a permanent spot on the bench, upgrade the handle later. The blade geometry is the same idea either way.
How to use one without gouging the print
Most people who hate a deburring tool are fighting the blade angle. The standard bit is ground for metal, where a steep rake slices cleanly. On plastic, that same rake grabs and digs. The fix is technique, then a different bit if you still need one.
Start with a scrap print. Hold the handle close to the part, lay the blade against the edge at a shallow angle, and draw it along with almost no downward pressure. Let the swivel head find the contour. You want a thin shaving, not a trench.
Take several light passes instead of one heavy one. Stop as soon as the sharp lip is gone. Inspect the edge at each pass, because the difference between done and too far is small on a visible face.
If the blade still grabs on outside curves, the bit is the problem. Bits ground for plastic, or an outside-radius geometry, make the tool behave like a different animal on the same handle. Owners who do a lot of edge cleanup keep one of each.
Deburring tool vs flush cutters vs hobby knife
The three work as a sequence, not a competition. Cut the support off with flush cutters, knock the scar down with the deburring tool, and reach for the hobby knife only where a straight blade does something the swivel head cannot. If you are still organizing the bench, the 3D printer scraper handles the plate side of cleanup.
When to skip it
Skip a deburring tool if your real problem is adhesion, wet filament, or dimensional accuracy. A shell that lifts on one side or a part that pops and strings will not be saved by edge cleanup. Fix the profiles and the spool first.
Skip it too if you print one decorative model a month and sand the edges while watching television. There is nothing wrong with that, and the tool will just sit in a drawer. The people who love it print functional brackets and organizers where edge feel actually matters.
If you do print a lot of functional parts, this is one of the cheaper upgrades that changes the finished feel of everything. That is why it keeps showing up in post-processing threads as the tool people did not know they needed.
Bottom line
The AFA Tooling Deburring Tool is the best deburring tool for most 3D printing benches, with an M2 HSS blade that holds up and a swivel head that follows any edge. Take the PEASUG 12-Blade Deburring Tool if you want spare blades in the box for a fraction of the cost. Either way, pair it with flush cutters, practice on scrap, and run light passes on plastic.
Frequently Asked Questions
What does a deburring tool do for 3D printing?
It shaves the rough edge left by supports, a brim, or elephant foot. That includes sharp lips on functional parts, fuzzy support-contact scars, and the inside of holes and slots. It is a cleanup tool for the last ten percent of a print, not a way to remove whole supports.
Is a deburring tool better than a hobby knife for 3D prints?
For edges and brims, yes for most people. The swivel blade follows a curve and removes a thin shaving instead of slicing in. A hobby knife still wins in tight inside corners where you need a straight blade. Most benches end up with both.
Why does my deburring tool gouge into PLA?
Because most blades are ground for metal. The rake angle is too steep for plastic, so the edge digs in and grabs instead of shaving. Try a lighter pass, a lower angle, and a blade ground for plastic or the outside radius. Practice on a scrap print first.
Can I use a deburring tool on resin prints?
Yes, with a very light touch. Cured resin is brittle and chips instead of shaving, so keep the pass shallow and stop at the edge. For thin resin details, a hobby knife gives you more control.
What is the difference between a deburring tool and flush cutters?
Flush cutters cut supports and sprues off in one snip. A deburring tool then smooths the scar that is left behind. The two work as a pair: cut first with flush cutters, then deburr the edge. See our best flush cutters for 3D printing guide for the cutting half.
How long do deburring tool blades last?
A lot longer on plastic than on metal. Owners report a single high-speed steel blade lasting years on occasional 3D printing cleanup, while regular use on aluminum or steel dulls it faster. That is why a kit with spare blades is worth a few extra dollars.
Which way do you use a deburring tool on a 3D print?
Hold the handle close to the part and draw the blade along the edge at a shallow angle, letting the swivel head find the contour. Take several light passes rather than one heavy one. Clean the blade between jobs so plastic shavings do not drag and scratch the surface.
Are deburring tools safe to use around the bench?
They are sharp, and the swivel blade can catch if you force it. Keep your supporting hand behind the direction of travel, cap the tool when it is not in use, and store the spare blades in their case. Respect it like any other edge tool.