Best Laser Engraver for Beginners (2026): Two Picks for Home Makers
Accessories
A first laser engraver should be cheap enough to learn on and safe enough to run at home. We compare a budget open-frame diode laser with an enclosed desktop machine and explain the settings that decide your first result.
Our picks
The best laser engraver for beginners on a budget is the Twotrees TTS-55 Pro, because its air assist keeps edges cleaner than the price suggests and scrap wood makes cheap practice. If the laser will live inside your home, the enclosed xTool M2 10W is the better first machine.
Either way, you will scorch a board, burn a test grid, and tweak power and speed until the settings make sense. That learning is cheaper on a small diode machine than on a four-figure CO2 unit. If you are building out a home workshop, start with the rest of our 3D printing accessories guides, and plan the room before the tool with our enclosure guide and printer fire safety guide.
Laser engraving fits naturally beside 3D printing. Both are subtractive or additive ways of making a physical object from a digital file, and both use the same design habits. The difference is that a laser cuts and marks flat stock, while a printer builds up a shape. Many home makers end up with both, using the laser for signs, tags, and jigs, and the printer for the geometry the laser cannot cut.
The first decision is not power. It is where the machine sits. An open-frame diode laser belongs in a garage, a shed, or a workshop with a window and a fan. An enclosed machine with active exhaust can live in a spare room. Decide that honestly before you compare specs, because a great machine in the wrong room becomes a dust collector.
What a beginner laser engraver can and cannot do
A diode laser engraves far more than it cuts. It will burn crisp marks into wood, leather, paper, cardboard, felt, and coated metal, and it will cut thin plywood, basswood, and some acrylic, slowly. That covers personalization, signage, coasters, tags, and gifts, which is what most first projects actually are.
It will not cut clear, white, or many light-colored acrylics, because those materials let the beam pass through or reflect it. It will not mark bare steel, silver, or aluminum without a coating, and it will not cut thick hardwood in one pass no matter what the listing claims. Those jobs need an infrared module, a CO2 machine, or a different tool entirely.
The last limit is speed. A diode laser is a slow cutter and a fast engraver. If your plan is production runs of thick parts, a beginner diode machine will not keep up, and the money is better spent on a CO2 laser or on outsourcing the cut parts.
Best for most beginners: Twotrees TTS-55 Pro
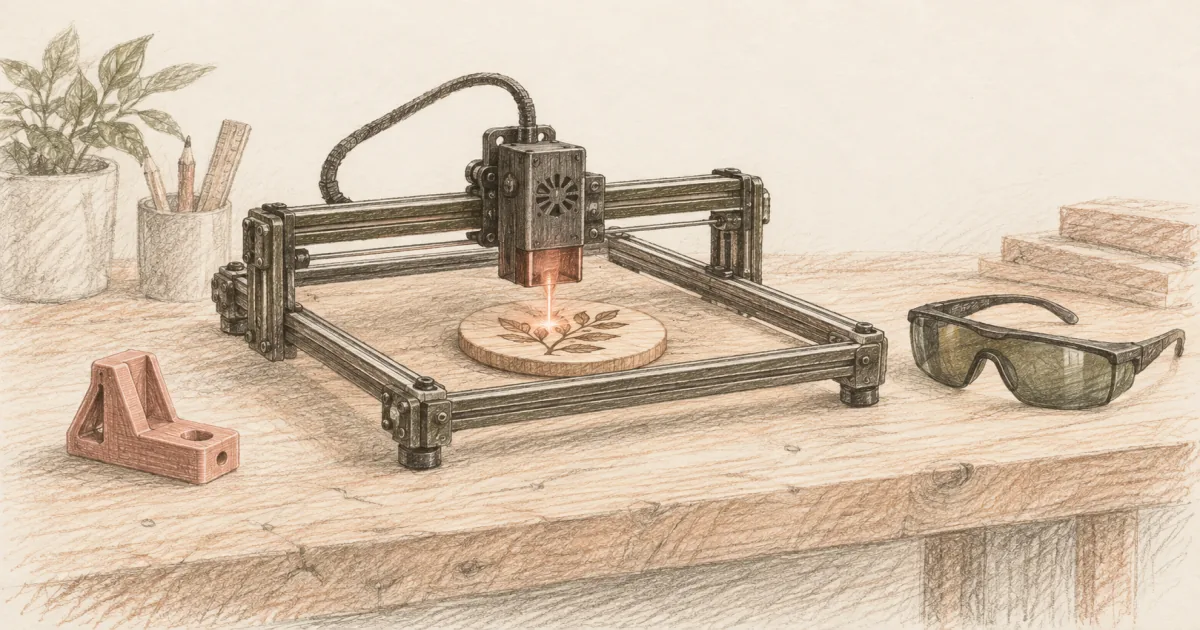
The Twotrees TTS-55 Pro is the value pick, and it is honest about what it is. A 5.5W diode module rides a 300 x 300 mm frame with a fine spot, a metal air-assist nozzle, and a red shield around the lens. It engraves wood, leather, paper, acrylic, glass, and coated stainless steel, and it cuts thin plywood and leather at hobby speed.
The upgrade over the older TTS-55 is the air assist path. Forcing air across the cut point clears smoke and debris, which means less char on the surface and cleaner edges without a second pass. That single change does more for how a beginner's first projects look than a modest bump in power.
Control is straightforward. It runs a 32-bit dual-core board, supports LightBurn and LaserGRBL, and can run jobs offline from a memory card so you do not need a laptop parked beside it. The Pro also adds Wi-Fi for app and browser control, which is convenient and worth ignoring until you have learned the settings.
You still get what you pay for in two places. The frame is open, so you need ventilation and eye protection, and the machine is a class 2 laser that you should never leave running unattended. Presets also need adjusting: the first thick-wood attempt in most owner reports ends with scorched edges until the power and speed are dialed in on scrap.
Choose the TTS-55 Pro if this is your first laser and you want the lowest-cost way to find out if you enjoy it. Skip it if the machine has to live in a shared living space, because an open frame plus smoke is a bad roommate.
Best enclosed step-up: xTool M2 10W
The xTool M2 10W is the step up for a home workshop, and it is the pick when the laser lives indoors. The 10W diode module sits inside a fully enclosed Class 1 body with an orange lid, so you can watch the job without goggles and without clearing the room.
The cameras are what make it beginner-friendly in practice. An overhead camera shows the material in the software, a close-view camera tracks the head for fine alignment, and framing traces the path on the stock before the job starts. Combined with built-in air assist and automatic focus, that removes most of the guesswork that makes a first laser session frustrating.
It is also built to expand. The magnetic module system swaps heads in seconds, so the same body can run the laser, add the color print module, or take the infrared module for bare metal marking later. A rotary accessory handles tumblers and bottles. That modular path is why it holds value as your projects grow past flat stock.
The limits are real. Material height is capped around 26 mm, so tall objects need the rotary attachment. The magnet hold-downs can let thin stock shift on later passes, and the material presets are a starting point rather than a promise, so a test cut is still the smart habit. Like every diode laser, it will not cut clear or white acrylic.
Choose the M2 if you want a laser you can run inside without a negotiation, and you value placement accuracy over raw cutting power. Skip it if your whole plan is cutting thick hardwood all day, because that is a CO2 job.
Before you buy: power, room, and the parts that add up
Power is the number the listings shout and the one that matters least at the start. A 5W laser engraves everything a beginner needs and cuts thin stock. More watts cut thicker material faster, and they also burn mistakes faster. Buy for the material you actually use.
The room decides the class. Open frame means ventilation, eye protection, and no unattended jobs. Enclosed means a filter or a window vent and a much easier relationship with the rest of the household. If you cannot answer where the smoke goes, you are not ready to order.
Budget the accessories, not just the machine. Air assist, a honeycomb bed, a rotary tool for cylinders, and safety glasses all show up in real projects. A honeycomb bed in particular helps airflow under the material, which reduces scorching and stops the beam bouncing off a solid surface. These add-ons are where a cheap machine quietly becomes a mid-priced one.
How to get a clean first engraving
- Start with a known material. Use 3 mm basswood or birch plywood. It is cheap, flat, and forgiving, and the settings you learn transfer to harder woods.
- Run a test grid. Engrave a grid of power and speed combinations on one scrap piece and pick the squares you like. This one habit prevents most ruined projects.
- Focus the lens. Set the focus distance for the material thickness every time you change stock. An unfocused beam is wide, weak, and sooty.
- Turn on air assist. Even a small amount of airflow keeps smoke and residue off the lens and the work surface, and it makes the difference between a dark scorch and a clean edge.
- Cut on a bed, not a solid table. A honeycomb or slat bed lets smoke escape underneath and stops the beam reflecting back into the material. It also saves the table.
- Test the fit on a throwaway piece first. Cut the outline on scrap stock before you commit the good board. Alignment errors are cheap on scrap and expensive on walnut.
- Ventilate and stay nearby. Run the job with a window open or a filter running, and keep an eye on it. Smoke, flare-ups, and small fires are all reasons not to start a laser job and leave.
Where laser engraving and 3D printing overlap
The most useful projects for a home maker use both tools. A laser engraves flat signage, tags, jigs, and templates, while the printer makes the brackets, holders, and stands that hold them. Neither tool replaces the other, and owning one makes the other more useful.
Laser engraving is also a finishing tool for printed parts. It marks labels, text, and simple patterns directly on a printed surface, which saves a painting step for things like control panels, key organizers, and gift items. Test on scrap prints first, and keep the power low, because plastic absorbs heat faster than wood and settings that look fine on plywood will sink a channel into PLA.
Shared habits carry over too. Both workflows reward good fixturing, flat work surfaces, and a test piece before the real one. If you already grew up with a 3D printer, that mindset is most of what you need. Our sanding and primer guides cover the other half of making a printed part look finished.
When to skip a diode laser
Skip a diode laser if you need to cut thick hardwood, acrylic of any color, or anything in volume. Those are CO2 jobs, and no amount of patience turns a 5W diode into a production cutter.
Skip it if you cannot ventilate the space and cannot buy an enclosed machine with a filter. Laser smoke is not a smell you want embedded in a living room, and the fumes from some materials are worse than wood. Wait until the room works.
Skip it if the projects you actually want are all rounded, dimensional, and textured. That is a 3D printer or a CNC router. A laser excels at flat stock and surface work, and a beginner who buys the wrong tool ends up frustrated by the wrong thing.
Bottom line
The Twotrees TTS-55 Pro is the best laser engraver for beginners on a budget because it pairs a fine 5.5W spot with air assist and honest software support, so your first projects look better than the price suggests. The xTool M2 10W is the better first machine if the laser lives inside your home, because the enclosure and cameras make it safe and predictable enough to use often.
Frequently Asked Questions
What is the best budget laser engraver?
A small diode laser on a rigid frame with air assist is the best budget buy, because air assist does more for edge quality than a few extra watts. The Twotrees TTS-55 Pro is the value pick here: it covers a 300 x 300 mm area, runs from free software, and can engrave wood, leather, paper, and coated metal without a workshop.
Are cheap laser engravers any good?
Cheap diode lasers engrave well and cut thin material slowly. They struggle with clear and white acrylic, they cannot mark bare metal without a coating or an infrared module, and they need the surface to be flat and in focus. For gifts, signs, tags, and personalizing 3D prints, a budget machine is not a compromise.
What is a good entry-level laser engraver for metal?
You need a laser that bare metal will absorb, which means an infrared module or a coated metal blank. Most beginner diode lasers can mark anodized aluminum, coated tumblers, and painted steel because the coating reacts to the beam. If bare steel or silver is the whole plan, budget for an infrared module instead of buying a bigger diode.
What are the top laser engravers for a home workshop?
The group worth comparing is small: open-frame diode kits for learning cheaply, enclosed diode machines for indoor use, and larger CO2 or infrared units for production. Match the class to your room first. An enclosed machine with active exhaust decides whether you can use the tool in a kitchen-adjacent space at all.
Do I need an enclosure for a laser engraver?
You need either an enclosure or a dedicated ventilated space. Diode lasers produce smoke and fumes that you should not breathe, and the smell lingers on soft furnishings. An enclosed machine with a filter or a window vent is the simplest path to running it indoors. For a shared room, treat it the same way you would treat a resin printer.
Can a diode laser engrave 3D prints?
Yes, and it is one of the better reasons for a 3D printing household to own one. A diode laser marks printed PLA and PETG surfaces for labels, text, and patterns, and it cuts thin printed flat parts and jigs. Test on a scrap print first, because settings that scorch wood will melt plastic fast.
What software do beginner laser engravers use?
LightBurn and LaserGRBL are the two names you will see, and a machine that supports both gives you a cheap path and an upgrade path. Several brands also ship their own free studio software with ready-made templates and material profiles. Learn one properly before paying for anything else.