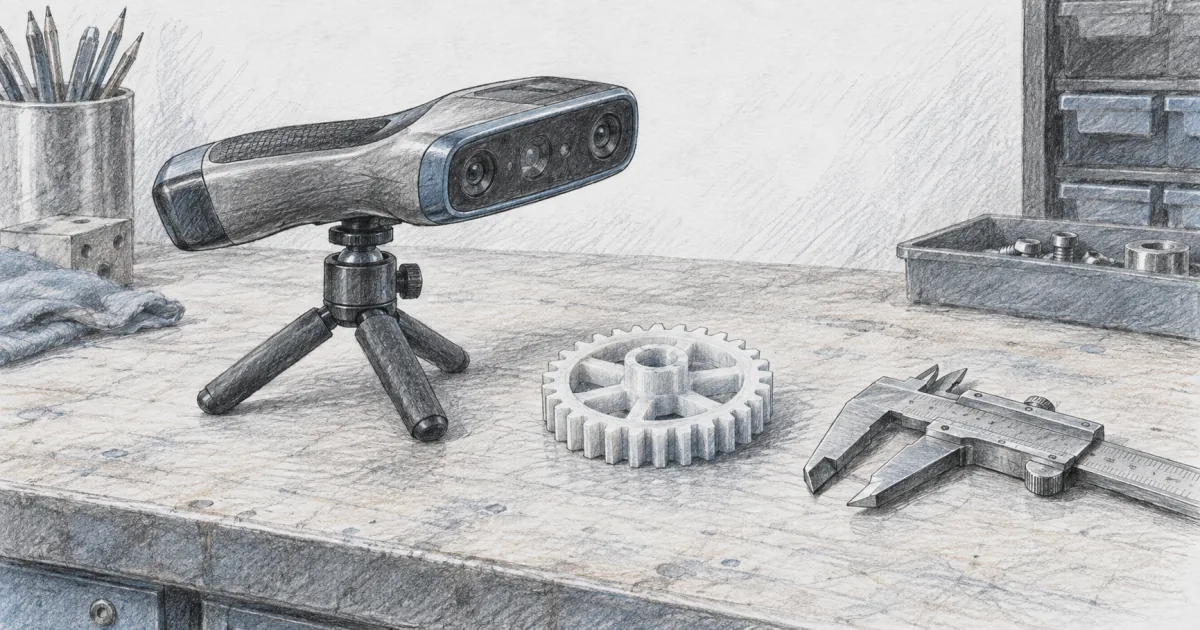
Best 3D Scanner Under $500 (2026): Picks That Actually Scan
Accessories
You do not need a four-figure scanner to copy a broken bracket or a worn knob. These three handhelds stay under $500, and the one you pick comes down to part size, color, and how much spray you are willing to use.
Our picks
The best 3D scanner under $500 for most home benches is the 3DMakerpro Moose Lite. It captures small parts and mid-size objects with 0.05mm-class accuracy, and it reads the matte dark plastics that send cheaper scanners hunting for a can of spray.
The job is simple to describe and fiddly to do: you want a real object inside your slicer without a weekend of mesh repair. That bar is lower than the marketing claims and higher than a phone app. Start with the rest of our 3D printing accessories guides if the bench is still coming together, and read the enclosure guide first if the scanner will live in a shared room.
Most people land here for one of three reasons. A plastic part broke and is no longer sold. A shape needs to be copied, scaled, or modified. An object needs to exist as a digital reference. All three are faster with a dedicated handheld than with photogrammetry, because tracking is what fails first on a difficult part.
If you already own a scanner and want the wider comparison, our best 3D scanner for 3D printing guide covers the $900 and up class. This page stays under $500 on purpose.
What $500 actually buys in a scanner
Under $500 you are buying a handheld that captures shape, not a metrology instrument. Accuracy figures in this band run from about 0.05mm to 0.1mm, and those numbers assume good light, a steady hand, and a matte surface. Real-world edges and holes land rougher than the spec sheet suggests.
Two things decide whether a budget scanner is useful. Tracking quality decides whether you get a complete capture or three half-objects. Working distance decides how steady you have to be. A scanner that holds tracking through a slow pass beats a sharper one that loses the object halfway around.
The third variable is color. A mono scanner gives you a grey mesh that is fine for printing and fine for CAD. A color scanner gives you a textured model for display, which matters if you scan faces or plan to share the file rather than print it.
Best overall: 3DMakerpro Moose Lite
The 3DMakerpro Moose Lite is the pick when detail matters more than color. It captures at 0.05mm accuracy with 0.10mm resolution, uses a NIR light source, and weighs 250g. The working range runs from small parts up to objects around 1.5m, which covers most broken-bracket and copy-a-shape jobs.
The reason it wins is surface handling. Dark matte plastic is the classic failure case for budget scanners, and the Moose Lite reads it well enough that a printed replacement usually fits after a scale check. Marker-free tracking means you are not covering a smooth part in reflective dots, which saves real time on a round or symmetrical object.
It is not a push-button tool. The field of view rewards a steady standoff, so a turntable helps on small parts. Transparent, hairy, and highly reflective surfaces still want spray or powder. The texture capture is monochrome, so pick this one for geometry, not for a painted display model.
Choose the Moose Lite if you copy mechanical parts and want the most accuracy under $500. Skip it if you need full color, and look at the Ferret Pro below.
Best for color and body scans: Creality CR-Scan Ferret Pro
The Creality CR-Scan Ferret Pro is the color pick. It captures at 0.1mm accuracy, adds a 24-bit full-color camera, and uses anti-shake one-shot imaging so a handheld pass survives normal hand movement. It covers objects from about 15cm up to 2m and works in outdoor light up to 30,000 lux.
That range is why it suits people and props. Faces, busts, pets that hold still, and mid-size objects are where owners get the best results. The wireless mode and light body mean you can walk around a large part instead of dragging it to the desk.
The tradeoff is the small end. Parts under roughly 15cm are the weak spot, so a screw or a tiny figurine is frustrating here. It is also a software-heavy workflow, and a USB 3.0 connection is worth using for the higher-quality modes. Expect the first session to be practice.
Choose the Ferret Pro if you want color and body scans in one sub-$500 handheld. Skip it if your parts are small and mechanical, because the Moose Lite handles those better.
Best budget pick: 3DMakerpro Fox
The 3DMakerpro Fox is the cheapest way into 3D scanning on this list. It captures at 0.07mm accuracy with 0.10mm resolution, weighs 210g, and uses the same JMStudio software as the more expensive 3DMakerpro models. The NIR light source handles matte dark and painted parts without much prep.
The beginner angle is real. There is no calibration board, the software auto-downloads a calibration file, and the guided walkthrough explains distance and tracking as you go. Re-scan and patch let you top up a missed area instead of starting the whole object again.
The honest limit is size and tracking. Objects below roughly 40mm are hard, and some owners report losing tracking when they move too fast. Move slowly, keep the part on a matte surface, and this is a lot of scanner for the money.
Choose the Fox if this is your first scanner and you want to learn the workflow cheaply. Skip it if your parts are small or glossy, because the step up to the Moose Lite solves both.
Scan prep that decides your results
- Prepare the surface. Clean the part, then dust gloss, chrome, or black plastic with spray, talc, or dry shampoo. Matte grey is the easiest surface to scan.
- Set up contrast. A dark towel or backdrop behind the object stops the scanner from latching onto the bench or your hand.
- Pick the mode by part, not by habit. Feature tracking for textured parts, markers for smooth symmetrical parts, laser or NIR mode for low-detail surfaces.
- Stay in the distance zone. The software shows a green range for a reason. Drifting in and out makes the fuse step harder.
- Capture overlapping passes. Overlap each pass with the last one so the software can align them, and keep the object in the same spot.
- Fuse, clean, then mesh. Cut stray points first, then generate the mesh, then fill holes. Cleaning after meshing takes longer.
- Finish in CAD. Scale the mesh to a known dimension and rebuild the bores, bosses, and threads that have to fit. Scan for shape, measure for fit.
Specs that matter at this price, and the ones that do not
Tracking quality beats accuracy on paper. A scanner that holds the object through a full pass gives you a mesh you can clean. A sharper scanner that loses tracking gives you half-objects and an evening of alignment.
Working distance decides how much coffee you need. A tight range forces steady hands. A wider range is friendlier to a first project but usually costs accuracy.
Point distance is the detail dial. Smaller captures more but makes bigger files that take longer to fuse. For print work, a middle setting that keeps the workflow moving beats the finest one that melts your laptop.
Color is a workflow choice, not a quality score. If the model goes straight to a slicer, mono is enough. If it goes to a screen or a display shelf, pay for color.
Who should skip a sub-$500 scanner
Skip a scanner if every model you print comes from a library. You are paying for a tool that solves a problem you do not have, and the money buys a better printer or a lot of filament.
Skip it if you expect one-click results. Scanning is a skill, and the people who get clean parts scan the same object a few times and adjust. Budget a learning curve measured in evenings.
Skip it if you need certified measurement. A hobby scanner is a modelling aid. For tolerances that have to hold on a drawing, use calipers and keep the scanner for shape.
Bottom line
The 3DMakerpro Moose Lite is the best 3D scanner under $500 for most home benches because it pairs 0.05mm-class NIR capture with marker-free tracking and handles the matte dark parts that stall cheaper machines. The Creality CR-Scan Ferret Pro is the pick for faces, body scans, and color. The 3DMakerpro Fox is the cheapest sensible way to learn the workflow. Budget for surface prep and CAD cleanup, because that is where a scan becomes a print.
Frequently Asked Questions
What is the best 3D scanner on a budget?
The 3DMakerpro Moose Lite is the best balance of price and detail under $500 for most home makers. It captures matte dark parts that cheaper structured-light scanners miss, and its marker-free tracking means no dot stickers on a smooth object. If full color matters more than accuracy, the Creality CR-Scan Ferret Pro is the better fit.
Do cheap 3D scanners work?
They work within limits. A sub-$500 scanner captures usable shape on matte, well-lit objects and struggles with shiny, transparent, or very small parts. You will still clean up the mesh and rebuild mating features in CAD. Treat a budget scanner as a modelling aid for copies and fits, not as a measuring instrument.
What are the best 3D scanners for home use?
For a home bench, a handheld NIR scanner is the practical size. The Moose Lite covers small parts and mid-size objects up to about 1.5m. The Ferret Pro adds color and body scans. The Fox is the cheapest way in. All three fold into a drawer, unlike a large all-in-one unit.
Is the best 3D printer under $500 a better first buy than a scanner?
Usually, yes, if you do not already own a printer. A scanner copies an object you cannot model. A printer makes the replacement. If you are choosing between the two, start with our best 3D printer under $500 guide and add a scanner once you have a part you actually need to copy.
Do I need scanning spray?
Often, yes. Shiny, clear, and jet-black surfaces scatter or absorb light and scan with holes. A light dusting of scanning spray, talc, or dry shampoo gives the sensor something to read. The Moose Lite and Fox handle many matte dark plastics without it, but keep a can on the bench for glossy parts.
Can a cheap 3D scanner copy small parts?
Only to a point. Below roughly 40mm, tracking gets harder and edges get rough, which is where a scanner turns into a reference rather than a finished model. Scan the small part, then measure the features that have to fit with digital calipers and rebuild those in CAD.
Can I use my phone instead of a scanner?
Phone photogrammetry can build a rough mesh from many photos, and it works best on matte, textured objects that hold still. It struggles with thin features, glossy surfaces, and anything small. Use it to preview an idea, then move to a dedicated scanner when the part has to fit something.