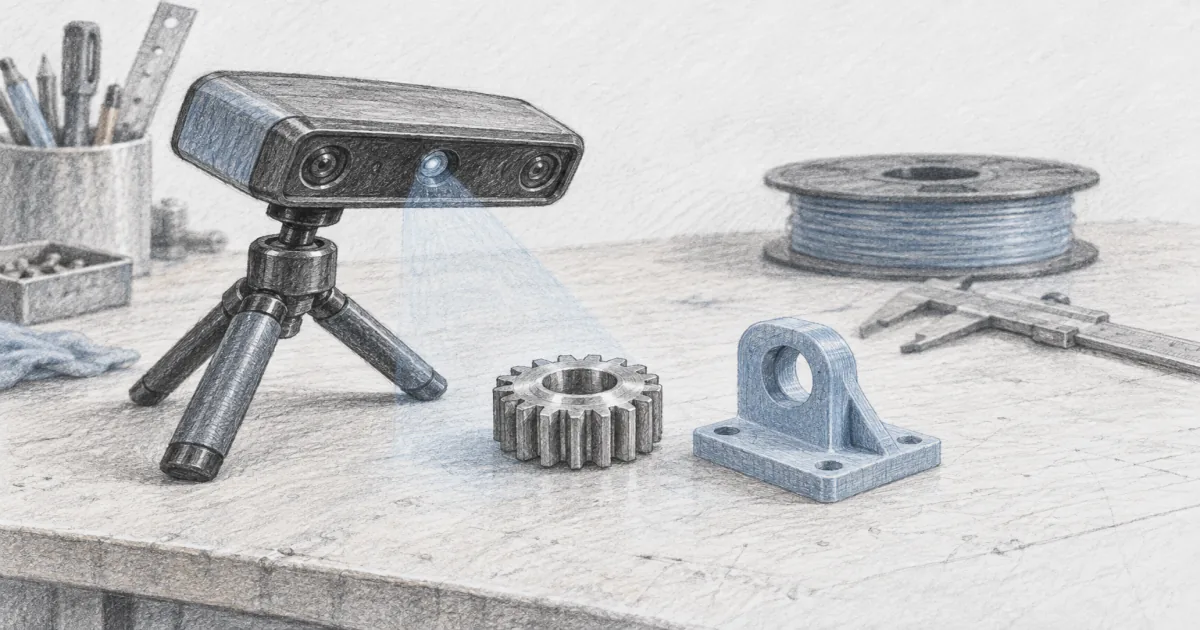
Best 3D Scanner for 3D Printing (2026): Two Picks That Print
Accessories
A home 3D scanner is only worth it if the mesh reaches your slicer in usable shape. These two Revopoint scanners cover mid-size parts and small parts, and we explain the scan prep that decides which results you actually get.
Our picks
The best 3D scanner for 3D printing for most home benches is the Revopoint POP 4 Premium. It handles small parts and mid-size objects in one handheld, and its laser mode holds detail on surfaces that trip up simpler scanners.
The goal is a real object inside your slicer without a weekend of mesh repair. That bar is lower than the marketing suggests and higher than a phone app, so the choice comes down to the size of the parts you copy and how much surface prep you will tolerate. Start with the rest of our 3D printing accessories guides if you are still building out the bench, and read our enclosure guide first if your workspace is a shared room.
Scanning is the reverse of printing. A printer turns a file into an object, and a scanner turns an object back into a file. The catch is that it captures surfaces, not dimensions. Holes, bores, and threads come out approximate because the software fills in whatever the sensor cannot see. Keep a pair of digital calipers next to the scanner, measure the features that have to fit something, and rebuild those in CAD.
Most home buyers fall into three groups. Someone broke a plastic part that is no longer sold. Someone wants to copy a shape and scale or modify it. Someone wants a digital reference of an object they already love. All three get a faster result from a dedicated scanner with good tracking than from a phone, because tracking is what fails first on a difficult part.
What a 3D scanner actually adds to a print workflow
The reason to buy a scanner is a part you cannot buy. A discontinued clip, a cracked housing, a knob with a spline you cannot measure, a figurine you want to enlarge. For those jobs, a few hours of scanning and cleanup beats re-modelling from scratch in CAD.
The workflow is short but not instant. You scan the object, fuse the frames into a point cloud, clean the noise, mesh it, then repair and scale it. A first scan-to-print part usually takes an evening. The second one takes half that, because you stop fighting the settings and learn the two or three that matter for your surfaces.
Scanner specs are easy to misread. Single-frame accuracy, point distance, frame rate, and scan volume all matter, but tracking quality decides whether you get a usable capture at all. A scanner with modest accuracy that holds tracking will beat a sharper one that loses the object halfway around.
Best overall: Revopoint POP 4 Premium
The Revopoint POP 4 Premium is the pick when you want one scanner that does not decide your part size for you. It pairs blue laser scanning with structured light and infrared modes, so you can match the method to the object instead of forcing every job through one setting. It handles small parts up close and mid-size objects at working distance.
The laser mode earns its keep on parts that feature tracking cannot follow. Smooth, symmetrical, low-detail objects give feature tracking almost nothing to lock onto, which is where most cheap scanner sessions fall apart. Laser mode adds the geometry the sensor needs, and the software option to segment the object helps keep the bench, your hand, and the background out of the file.
This is not a push-button tool. Dark, shiny, and transparent surfaces still need a light coat of spray or powder before they read cleanly. Tiny thin parts stay rough at the edges no matter what you do, and a scan of a thin blade is a reference for CAD rather than a finished model. Budget the time, and the POP 4 rewards it.
Choose the POP 4 Premium if you want one scanner for the whole bench and you are willing to learn three modes. Skip it if every part you copy is small and hardware-like, because the POP 3 Plus does that well for less. For large objects where carrying a laptop around is the annoying part, look at the all-in-one option below.
Best value: Revopoint POP 3 Plus
The Revopoint POP 3 Plus covers the small end of the print bench. It is a structured-light scanner with 1.5x and 2.0x optical zoom, a 9-axis sensor, and global marker tracking, and it is aimed at hardware, small figures, and parts you want to reproduce at real size.
Two upgrades matter here. The optical zoom captures fine edges and threads that get lost at default magnification, which is exactly the detail 3D printing cares about. Global marker tracking builds a map of every visible marker and corrects alignment as you go, so a long handheld pass stops drifting and you can often capture the front and back of a part in one scan instead of stitching two.
The limits are honest. Structured light needs help on gloss, chrome, and jet-black plastic, so keep powder or spray within reach. Losing tracking when you pause and reposition is still a thing, and the cable bundle from scanner, turntable, and power can clutter the bench. The first few scans will be mediocre, and then they stop being mediocre.
Choose the POP 3 Plus if your parts are small, detailed, and mostly matte, and you want the best results per dollar. Skip it if you plan to scan furniture, car panels, or full-size objects, because its comfortable working range is smaller and the POP 4 Premium or a large-format scanner fits better.
For big objects and one-piece scans: Revopoint MIRACO Plus
The Revopoint MIRACO Plus is the all-in-one route. It carries its own processor, memory, and screen, so you scan and review without tethering to a laptop. That matters when the object is a car part, a piece of furniture, or anything you cannot carry to the desk.
It uses a quad depth camera system with a 48 MP color camera and infrared zoom, and it can swap between near mode for small details and far mode for large surfaces. Photogrammetry scale bars tighten length accuracy on big objects, which is the part hobby scanners usually fumble. It is also the most expensive way into this hobby, and the workflow is heavier than a compact handheld, so buy it only when object size is the real constraint.
How to get from scan to printable mesh
- Prepare the surface. Clean the part, then dust gloss, chrome, or black plastic with spray, talc, or dry shampoo. Matte grey is the easiest surface to scan.
- Set up contrast. A black backdrop or a dark towel behind the object stops the scanner from latching onto the bench, your hand, or the wall.
- Pick the mode by object, not by habit. Feature tracking for textured parts, markers for smooth or symmetrical parts, laser for low-detail surfaces.
- Stay in the distance zone. The software shows a green range for a reason. Too close adds noise, too far loses frames, and drifting in and out makes the fuse step harder.
- Capture more passes than you think you need. Overlap each pass with the last one so the software can align them, and keep the object in the same place between passes.
- Fuse, clean, then mesh. Cut the stray points first, then generate the mesh, then fill holes. Cleaning after meshing takes longer.
- Finish in CAD. Scale the mesh to a known dimension, then rebuild the holes, bosses, and threads you have to fit. Scan for shape, measure for fit.
Scanner specs that matter for printing, and the ones that do not
Tracking quality beats accuracy on paper. A scanner that holds the object through a full pass gives you a mesh you can clean. A sharper scanner that loses tracking gives you three half-objects and an evening of alignment.
Scan volume decides what you can attempt. Check the minimum and maximum object size, not the headline number. A scanner that excels at coins and rings may be useless on a shoe box, and the reverse is just as common.
Point distance is the resolution knob. Smaller point distance captures more detail and creates bigger files that take longer to fuse and clean. For most print work, a middle setting that keeps the workflow moving beats the finest one that melts your laptop.
Frame rate helps, but only after tracking works. A high frame rate makes a stable scan faster. On a difficult surface it mostly records more noise. Learn the mode before you chase the number.
Who should skip a 3D scanner
Skip a scanner if every model you print comes from a library. You are paying for a tool that solves a problem you do not have, and the money buys a better printer or a lot of filament.
Skip it if you expect one-click results. Scanning is a skill, and the people who get clean parts are the ones who scan the same object four times and adjust. Expect a learning curve measured in evenings, not minutes.
Skip it if you need certified measurement. A hobby scanner is a modelling aid, not a metrology instrument. For tolerances that have to hold on a drawing, use a proper measuring tool and keep the scanner for shape.
Bottom line
The Revopoint POP 4 Premium is the best 3D scanner for 3D printing for most home benches because one handheld covers small parts and mid-size objects, and laser mode rescues the surfaces that defeat simpler scanners. The Revopoint POP 3 Plus is the better value when your parts are small, detailed, and matte. Whichever you pick, budget for surface prep and CAD cleanup, because that is where a scan becomes a print.
Frequently Asked Questions
Is a 3D scanner worth it for 3D printing?
It is worth it when you need to copy a shape you cannot model from measurements alone, such as a broken bracket, a worn knob, or an existing part you want to scale. If your projects are all downloaded models, a scanner will sit unused. Most owners get the best value by scanning a reference and finishing the dimensions in CAD.
Can I use my phone as a 3D scanner for 3D printing?
Phone photogrammetry can produce a rough mesh from lots of overlapping photos, and it works best on matte, well-lit, textured objects that hold still. It struggles with thin features, shiny surfaces, and anything smaller than a few inches. Use it to preview an idea, then reach for a dedicated scanner when the part has to fit something.
How much does a 3D scanner for 3D printing cost?
Small-format and entry-level handhelds start in the low hundreds of dollars. Versatile handhelds that cover both small and mid-size objects sit roughly between $800 and $2,000. All-in-one units with their own screen and processing climb above that, so decide what object sizes you actually scan before you spend up.
Do cheap 3D scanners work?
They work within limits. Budget models capture broad shape well and small detail poorly, and they usually lean harder on markers and spray. Read the recent reviews for the exact part you plan to copy instead of trusting a spec sheet. If your parts have threads, bores, or text under about 1 mm, budget scanners will need CAD cleanup.
Do I need scanning spray?
Often, yes. Shiny, transparent, and jet-black surfaces scatter or absorb the light, so they scan with holes and noise. A light dusting of scanning spray, talc, dry shampoo, or even cornstarch in isopropyl alcohol gives the sensor something to read. Test on a hidden area first, and keep spray away from anything you cannot clean.
Is a 3D scanner as accurate as calipers?
No. A scanner captures surfaces, and the software fills in what it cannot see, which is why edges, holes, and thin walls come out approximate. Calipers give you true dimensions on the features that have to fit. The reliable workflow is to scan for shape, then measure the mating features with calipers and rebuild those in CAD.
What scan mode should a beginner use first?
Start with the mode the software recommends for your object size, then switch to laser mode when the part has few features for tracking to follow. Keep the scanner inside the green distance zone, move slowly, and take a few short passes instead of one long one. Expect the first three or four scans to be practice.