Best 3D Printer Bed Leveling Sensor (2026): BLTouch vs CR Touch
Accessories
A bed leveling sensor turns first-layer guesswork into a mesh the printer fixes for you. These three probes cover most boards, and the install details decide whether they work on the first try.
Our picks
The best 3D printer bed leveling sensor for most home benches is the ANTCLABS BLTouch. It works on nearly every board, the community has documented the setup to death, and a crash costs you a few-dollar pin instead of a whole probe.
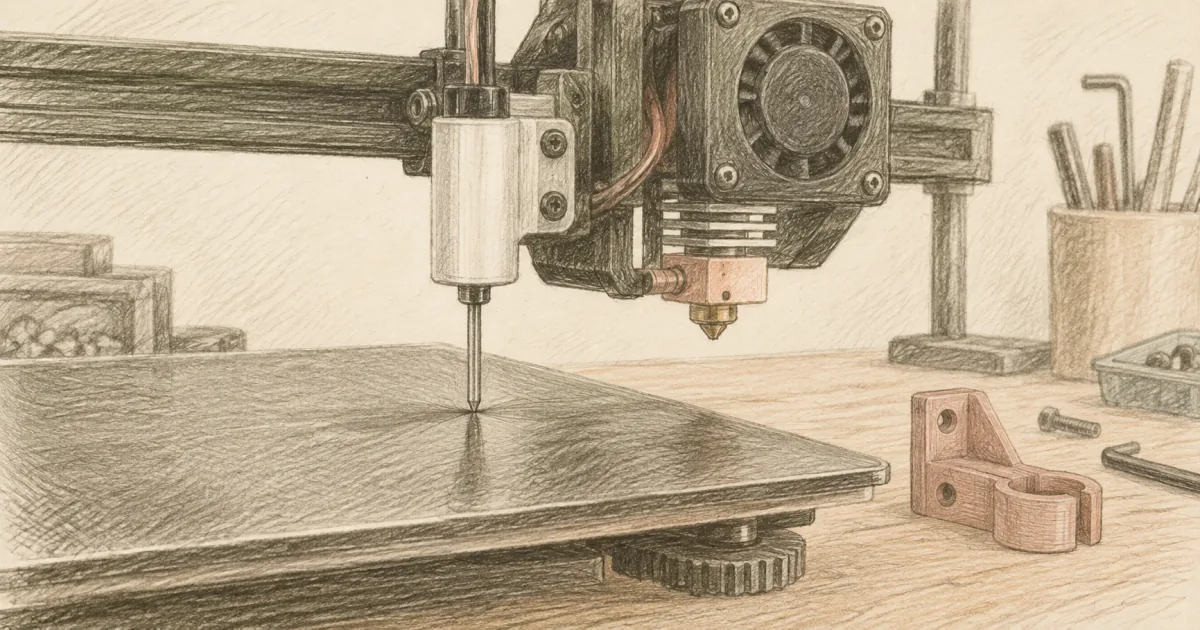
A leveling sensor does one job: it measures the gap between the nozzle and the plate at several points, then the firmware tilts the math so the first layer is even. That fixes a warped bed, a slightly tilted gantry, and the small changes heat causes. It does not fix a loose belt or a wet spool.
Look at the rest of our 3D printer accessories guides if the bench is still coming together, and start from the enclosure guide if you are sorting out a shared room. A sensor is a small upgrade, but it lives in the same workflow as the plate, the calibration, and the first layer.
If you are new to the machine, our 3D printer calibration guide covers the basics that make a probe useful in the first place.
What a bed leveling sensor actually does
Manual leveling is a four-corner compromise. You get the corners right and the middle still bows. A sensor samples a grid of points, the firmware stores the heights, and the nozzle moves up and down to follow the real surface while it prints.
That mesh is why the first layer stops being a lottery. It also makes nozzle changes and plate swaps less painful, because a fresh mesh runs before the next print.
The two common designs both use a pin that touches the plate. The BLTouch detects the pin with a Hall-effect sensor. The CR Touch uses an optical interrupter. Both reach about ±0.005mm repeatability when set up right, which is finer than most printers can move in Z anyway.
BLTouch vs CR Touch vs a budget clone
The practical split is firmware and noise. BLTouch has prebuilt support for almost every board, so setup is predictable. CR Touch is quieter and plugs into Creality boards without an adapter. The clone is the same idea with looser quality control.
Best for most boards: ANTCLABS BLTouch
The ANTCLABS BLTouch is the original, and it earned the reputation. It uses a Hall-effect sensor to detect the pin, and it works on almost any controller board once you wire the five-pin harness and enable the probe in firmware.
The reason to pick it over a Creality-branded probe is support. Marlin, Klipper, and the custom board vendors all treat BLTouch as the reference, so the config is a known quantity. On a printer with a BTT, MKS, or Duet board, that saves an evening of forum archaeology.
Its plastic pin is a feature, not a weakness. When the nozzle crashes into the plate with a wrong offset, the pin pops out of its socket instead of bending. Replacement pins are cheap, and the probe body usually survives.
Choose the BLTouch if you run a non-Creality board, a custom build, or you want the most documented path. Skip it if your printer is a stock Ender and you want the quiet, plug-and-play option below.
Best for Creality printers: Creality CR Touch
The Creality CR Touch is the right probe for most Creality owners. It uses an optical interrupter instead of a Hall-effect sensor, which makes it immune to the magnetic fields from nearby stepper wiring. The five-pin connector plugs straight into a 4.2.2 or 4.2.7 board.
The design differences matter day to day. It is quieter across a mesh, and the metal body shrugs off the heat of an enclosure better than a plastic probe. Creality also ships ready-made firmware, so the flash is a copy-to-card job rather than a build.
The tradeoff is that a metal pin can mark a soft plate if the nozzle crashes down. Set the probe height and the Z-offset with care, and run a mesh before the first real print.
Choose the CR Touch if you own an Ender 3, Ender 5, or CR-10 with a 32-bit board and want the simplest install. Skip it if you run a Duet or a custom board where a BLTouch is easier to configure.
Cheapest way to try auto leveling: 3D Touch V3.2
The 3D Touch V3.2 is a clone of the BLTouch at the lowest price on this list. It uses a Hall-effect sensor and a metal pin, ships with four mounting brackets for common Ender frames, and takes the same firmware configuration as the original.
For a beginner who is not sure whether auto leveling is worth it, this is the cheapest way to find out. The wiring is the same, the setup steps are the same, and the result on a cool machine is close to the original.
The catch is consistency. Hall-effect sensors are temperature sensitive, so the trigger point can drift as the probe warms. Clone quality also varies more than the name brands. If you print in an enclosure or you need repeatable results every day, step up to the BLTouch or CR Touch.
Choose the 3D Touch if you want to test the workflow on a tight budget. Skip it if consistency matters, and pay the small difference for a genuine probe.
Install rules that prevent a first-week failure
- Identify your board first. A dedicated five-pin probe port makes this a plug-in job. Separate Z-endstop and servo pins mean a split harness.
- Mount the probe beside the nozzle, never in front of the part cooling duct. The pin has to extend below the nozzle and retract above it.
- Check the 5V wire before powering on. Wiring a probe to 12V or 24V destroys it instantly.
- Verify GND continuity with a multimeter. Backwards connectors are the most common way people kill a new probe.
- Flash firmware that matches your board version. The wrong build leaves the probe unresponsive or the Z axis crashing.
- Set the probe offset, then the Z-offset. The probe offset is where the pin sits relative to the nozzle. The Z-offset is the gap. Get both.
- Run a mesh and print a first-layer test. Adjust from the test, not from a guess. Our bed leveling guide covers the test print.
Do you actually need one?
You need a probe if your first layer changes every time you swap a plate, if your bed has a visible bow in the middle, or if you print on a machine that moves between rooms. A mesh solves all three.
You do not need one if you run a small printer with a flat, spring-steel plate and you already get a good first layer. Manual leveling with the knobs is fine on a stable machine. Spend the money on a better plate instead.
You should not buy a probe expecting it to fix everything. A loose belt, a wobbly gantry, or a wet spool will still ruin a print. A sensor removes one variable. It does not remove the hobby.
Bottom line
The ANTCLABS BLTouch is the best 3D printer bed leveling sensor for most boards because it works almost anywhere and its plastic pin survives a crash. The Creality CR Touch is the easier, quieter pick for Ender and CR-10 owners with a 32-bit board. The 3D Touch V3.2 is the cheapest way to find out whether auto leveling earns its place on your bench. Match the probe to your board, wire it carefully, and calibrate the Z-offset before you trust it.
Frequently Asked Questions
Which 3D printers have an auto bed leveling system?
Most modern machines ship with one. Bambu Lab, Prusa, recent Creality Ender and K series, Elegoo Neptune, and Anycubic Kobra models all include a probe. Older Ender 3 and CR-10 printers usually do not, which is why this upgrade is so common.
What does bed leveling do on a 3D printer?
It measures how far the nozzle sits from the plate at several points and builds a mesh the firmware uses to compensate. That fixes a warped bed, a tilted gantry, and small thermal changes so the first layer is even across the whole plate.
How do I tell if my 3D printer bed is level?
Print a single-layer square or a first-layer test and look at it. Gaps between lines mean the nozzle is too high. Ripples or a rough, transparent patch mean it is too low. If the corner nearest the screen is fine and the far corner is not, the gantry or the plate is out of tram.
Is BLTouch better than CR Touch?
For a Creality printer, the CR Touch is the easier choice because it plugs into the board directly and runs quietly. For anything else, the BLTouch is the safer buy because its firmware support is broad and its plastic pin survives a crash better. Both reach roughly the same repeatability when installed correctly.
Can I add a bed leveling sensor to an Ender 3?
Yes, if the board supports it. Creality 4.2.2 and 4.2.7 boards have a dedicated five-pin port. Older 8-bit boards need a bootloader and a firmware flash first. Check your board version before ordering, then read our bed leveling guide.
Do I need to change firmware for a leveling sensor?
In most cases, yes. You flash a build that enables the probe and sets the probe offset. Creality printers have ready-made firmware, and Marlin and Klipper both support the common probes. Budget an evening for the first flash and the Z-offset calibration.
Does a leveling sensor replace manual leveling?
It replaces most of it, not all of it. You still tram the four corners once with the knobs or the spacers so the mesh has a small range to correct. A sensor that has to correct a badly tilted bed will still give you a bad first layer.